


Recently viewed

I hope this helps
"I have attached the pictures of how I use my panel flattener. I hope this helps."
JLT #180A-M2 Pneumatic Panel Flattener
Just what I needed
"Saw works great. Just what I needed. You may want to update the specs though. It says 110v but it’s 220v. I don’t think it will an 10” saw blade either. Haven’t tried but I don’t think it’s set up for one like it says. Ordering process was nice and easy. Thank you."
Castaly 12" Radial Arm Saw RS-612
Built for 24/7 Production
"Got the JLT #717C for our shop and it’s an absolute beast for narrow stile doors. The 2-second squaring cycle is legit—we’re easily pushing 100+ perfect doors a day now without stressing over glue joint alignment. Setup is super fast with the pin system, and the heavy-duty build takes daily abuse without losing accuracy."
JLT #717C Cabinet Door Clamp
Thanks for the service!
"Here are 2 pictures of the glue tank in our shop. I hesitated to send anything as it is not in its final place but perhaps it's good enough for you. We are using it for our drawer box station and assembly station. Thanks for the service!"
JLT Pressurized A8 Glue Tank for PVA Glue PIZ.9001
Purchased Machine for Partner
"I purchased this machine for our partner in China to use. We had some issues but we were able to get them fixed thanks to iron line tools."
Virutex CE53S Edge Lipping Planer for Perfect Flush Edges 5300199
I know this will meet my requirements
"haven't had a chance to use it but it looks like a well built product have a few projects down the road and I know this will meet my requirements. so hats off to your team! David"
Virutex TWOO AB200 Corded Dowel Jointer (120V) 7900799
Both Tools Work Great
"Both tools work great and are real time savers . The two tools that I received from your company were replacements for the exact same tools that I've used for the past years, I think its safe to say 20+ years. Extremely pleased with product and service."
Virutex AU93 Double Edge Trimmer And Scraper + RC21E Manual End Trimmer SET 2800086
Built for 24/7 Production
"This tool outperformed our previous setup by 40%. The build quality is pure steel."
JLT #812B Clamp Design
Quiet, Fast, and Totally Worth It
"Bought this California Air Tools compressor for the shop and it’s an absolute game changer. It’s incredibly quiet—you can actually have a normal conversation right next to it without yelling. It fills up fast, keeps up with all our nailers and blowguns with zero issues, and the oil-free pump means no maintenance. If you're tired of loud, annoying compressors ruining the vibe on your floor, grab this bad boy. Worth every penny."
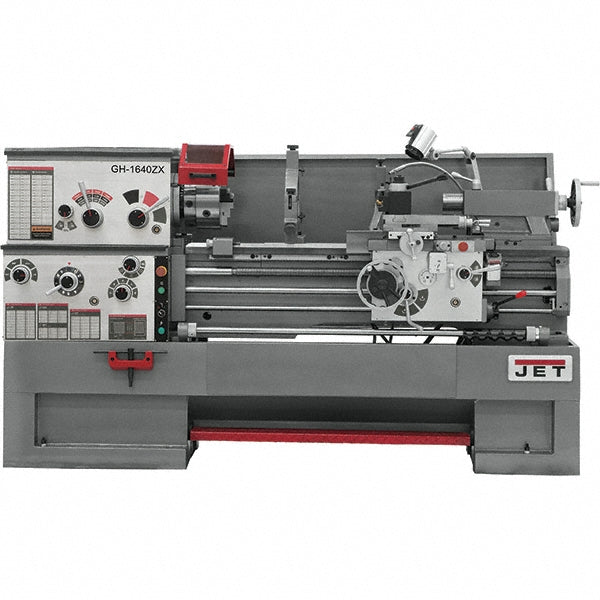
Heavy Duty & Precise
"Brought this Jet 16" x 40" Engine Lathe into the shop recently and it’s an absolute beast. The 3-1/8" spindle bore is exactly what we needed for turning larger bar stock, and the geared head runs incredibly smooth from 25 all the way up to 1,800 RPM. It handles our heavy daily metalwork without breaking a sweat, and you can see how solid the build is right in the photo. If you need a reliable 3-phase lathe that holds tight tolerances all day, grab this bad boy. Worth every penny."
Jet Tools Lathe
Yep we got the cutter
"Yep we got the cutter. We haven’t used it, the project we purchased it for has ended. Shipping was fast and I had no issues getting my order"
Euroboor TCT 1" Depth Annular Cutter
The edge bender is working great!
"The edge bender is working great! I’ll keep you in mind next time I need something for my shop"
Virutex Hand-Held Hot Air Edgebander Set AG52F: AG98F + AU93 + RC21E 5200199
Thanks for checking in.
"I believe they are working well judging by none of the guys have said anything about them other than a thank you for swapping them out for them hahah. So thanks for checking in."
Virutex Wheel Cutter Set Of 2 Wheel Cutters For Laminate And Veneer 1527075
Figured it out
"I had issues initially with the order but iron line tools helped me figure it out and sent me another Handheld Gluer. Very good service."
Virutex EM125T Handheld Gluer With Upper Roller 2500300